|
Dust Control Made Easy
The amount of dust that builds up in a home varies greatly from one house to the next. Even the most fastidious of homeowners will have dust somewhere in the house. Dust itself is complicated because it can come from many different sources. It can be skin cells, pet dander, fibers, soot from your furnace, pollen, even particles known to be carcinogens depending on the air quality where you live. Think about this: Every time you cook something, you put particles in the air, and it has to land somewhere. Dust. You can’t avoid it. But you can remove it. Here are a few tips to create a dust-free home (well, almost dust-free). Top to bottom Most of the time, the best, efficient method to clean is from the top down. It’s how the pros do it and it is a good way to avoid having to clean surfaces twice. Let gravity be your friend. Using quality cloths also traps dust and particles so that will help in the cleaning process as well. Reaching really high surfaces, such as on the top of cabinets or the top of ceiling fan blades, requires special extension tools. You can always grab a ladder, but think safety first. Using a tool to reach high areas is safer and works great. Stuff you need Besides extension tools and quality cloths, using microfiber cloths work well for most because the cloth itself grabs soil and dust and holds onto it. The construction of microfiber cloths positively charges them, which attracts the negatively charged dust. Think magnets. It works! Plus, you can wash microfiber cloths and use them over and over again. Some prefer natural materials, such as lambswool dusters or cotton cloths. That’s fine, they all work, it just depends on what you want to use. Compressed air may be necessary to reach into crevices where a cloth or tool just won’t work. A good vacuum is another tool that helps. With special attachments, vacuuming surfaces picks up dust and collects it all in the vacuum bag. Keep it dust-free When you are done, you can also rub a dryer sheet onto surfaces to keep dust from sticking. Many do this with their baseboards, which are very susceptible to dust since they are close to the ground. And don’t forget, when you need cleaning done right, do the right thing. Call your favorite cleaning company. After all, it pays to call a pro! How to Remove Wax from Surfaces
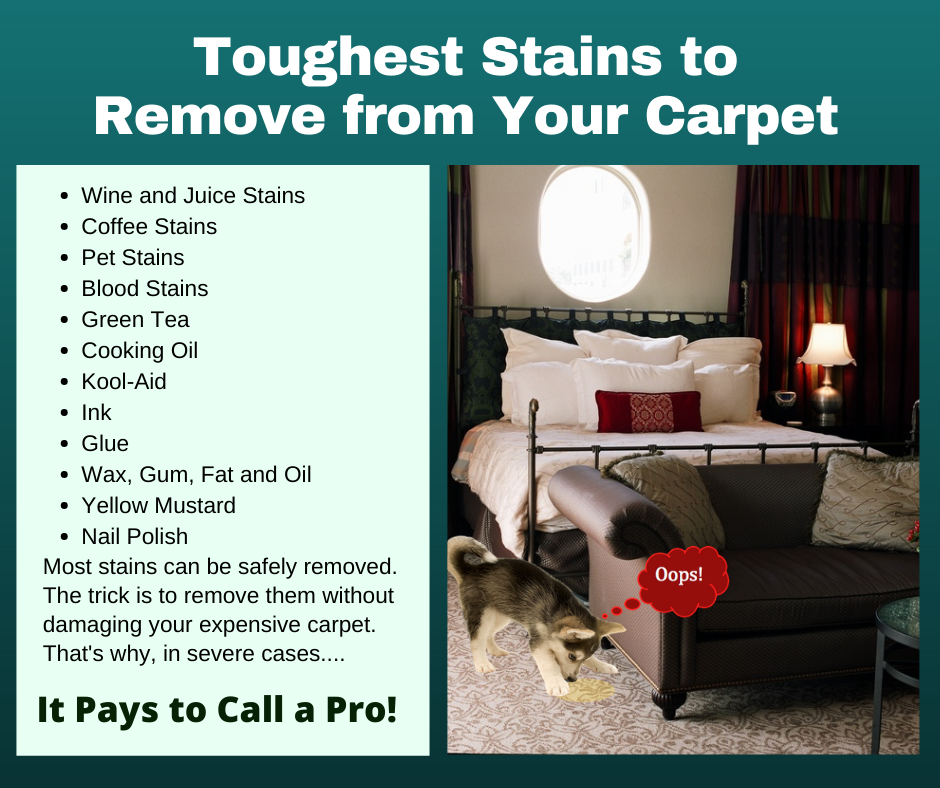
Wax is a big part of everyday life. You use candles to add a nice warm glow to your home, and to add a pleasing scent as well. You wax your car to give it a nice shine. You use wax to remove unwanted hai… oops, let’s not get too personal. But you get the picture. Wax is beneficial, handy, it has many uses, but when it is spilled onto a surface by accident, it can be a tough challenge to clean up. As you know, when wax is spilled, it is hot and can really stick to surfaces, especially fabric like carpet or upholstery. Here are a few useful tips you can implement when cleaning up wax. Carpet, furniture, and fabrics There’s no point in hurrying. Once it hits the surface, it hardens up faster than ice cream disappearing in front of a teenager. But once it hardens, you may be able to break up the wax and pull it off the fabric. BE CAREFUL not to damage the fabric, especially furniture. You can choose cold or hot treatment. You can freeze the wax with ice cubes and break it off, or you can warm it up for removal. You can do this with a hair dryer, clothes teamer or even a clothes iron if you use the lowest setting and keep a damp towel between the iron and the surface, and just dab at it to transfer the wax. If you can warm up the wax to melting temperature, you can remove it. The color left behind will most likely need the attention of a cleaning company. Hard surfaces This is easier. You have several approaches. Whether glass, wood, tile, or other hard surfaces, simply scrape (be careful not to scratch the surface) the wax off. If stubborn, you can also warm up the wax with a hair dryer or clothes steamer and then wipe it off. An oily residue may remain, and you can use a hot detergent and towel to remove that. Some recommend rubbing alcohol as the solvent of choice. Prevention – and the best cure Of course, being careful not to spill the wax is the smart thing to do, but accidents do happen. And when they do, and you need help, reach out to your favorite cleaning company. After all, it pays to call a pro! The Tenacity of Soap Scum
Soap scum is an irritating by-product of cleaning, especially in tubs, showers, and sinks. It’s ironic that a product you use to clean with creates problems on surfaces. And besides just soap buildup, what’s encased in the soap scum includes body oil, dead skin, bacteria, dirt, and more. This is why you may notice a foul odor as the soap scum gets thicker over time. Using liquid soap instead of bar soap will hinder soap scum buildup, because bar soap contains products that tend to create a film. Wiping down surfaces in your tub, shower, and sinks after you use them also helps. And there are specialty products you can mist onto surfaces routinely that will hinder the buildup of film. But when soap scum strikes, here are a few easy steps to follow to remove it. Mix up equal amounts warm water and white vinegar and add a small amount (just a drop) of dish detergent. Use a spray bottle and liberally apply to the soap scum, give the solution several minutes to work, and wipe it off. Keep repeating until the soap scum is gone. The small amount of dish detergent acts as a surfactant and penetrates the soap scum, and the water/vinegar mix helps break down the elements that created the scum. Mixing up a paste of baking soda and vinegar also works. Use about a half cup of baking soda in a small bowl, add just enough white vinegar until it becomes a paste. It will fizz for a while, and once it is done fizzing, apply to the areas you wish to treat. This is especially effective in areas such as where you leave a bar of soap and the scum is really thick. There are some cleaning products you can purchase at your favorite department store that also work on soap scum. They are applied directly to the surface and bubble and fizz and make removal much easier. All three of these solutions will work for you, but as with all cleaning activities, it takes time, elbow grease — aka scrubbing — to get the job done. Rinse it all off and wipe dry to really see how effective you were in removing the soap scum. But when you really need some cleaning help and tips, do the right thing. Call your favorite cleaning company. After all, it pays to call a pro! |
All Season Floor Pros Fall River MA AREA
Also Serving:
Somerset MA Swansea MA Newport RI Tiverton RI Dartmouth MA Middletown RI Portsmouth RI Taunton RI Westport MA Raynham ME Archives
February 2022
Fall River MA Cleaning OutPost Site
|

 RSS Feed
|
|
Would you like to get your own OutPost Site? Cleaning and restoration firms who are MarketingZoo.com members get
|
CleaningOutpost.com Directory of Cleaning & Restoration Businesses is a service offered by MarketingZoo.com
Copyright 2015 Thinkshortcut Publishing, LLC
Copyright 2015 Thinkshortcut Publishing, LLC