
|
How Freezing Works
It’s winter. And it’s cold out — in many parts of the country, anyway. With winter comes freezing. It’s a phenomenon that occurs routinely. The science of freezing is a fascinating process governed by physical and biological factors that profoundly impact the environment. And freezing can really make a bad situation for your home if the temperature drops low enough. Just like in your kitchen freezer, water plays a central role in the freezing process in nature. Water freezes at its familiar temperature of 0°C (32°F) under normal atmospheric pressure. However, in essence, variables like altitude, salinity, and the presence of impurities can affect this freezing point, resulting in unique and diverse freezing scenarios. What it does to your home 1. Burst pipes: Burst pipes are the most common problem associated with freezing. As water freezes inside a pipe, the pressure builds up between the ice blockage and the closed faucet downstream. Eventually, this pressure can cause the pipe to rupture. 2. Cracked fixtures: Plumbing fixtures like faucets, valves, and even the toilet tank can crack when water freezes and expands. These cracks can lead to leaks, reduced water pressure, and the need for costly repairs or replacements. 3. Blockages: Ice can also create blockages within pipes. Even if a pipe doesn't burst, a partial or complete blockage can occur, causing reduced or no water flow through the affected pipe. This can disrupt water supply and drainage systems in your home. 4. Damage to outdoor plumbing: Exterior plumbing components, such as outdoor faucets, hoses, and sprinkler systems, are particularly vulnerable to freezing temperatures. Water left inside these fixtures or pipes during the winter can freeze and cause them to crack or burst when the ice expands. 5. Weakening of pipe material: Repeated freezing and thawing cycles can weaken the structural integrity of pipes over time. This can increase the risk of future leaks and plumbing failures, even if the lines don't burst immediately. To prevent freezing-related plumbing problems, it's essential to take proactive measures during cold weather, such as insulating pipes, keeping a trickle of water flowing when it is really cold, sealing gaps and cracks, and more. But if something does happen and you have water damage from frozen pipes or other disastrous issues, do the right thing. Call your favorite restoration company. After all, it pays to call a pro! 5 Keep it Clean Tips
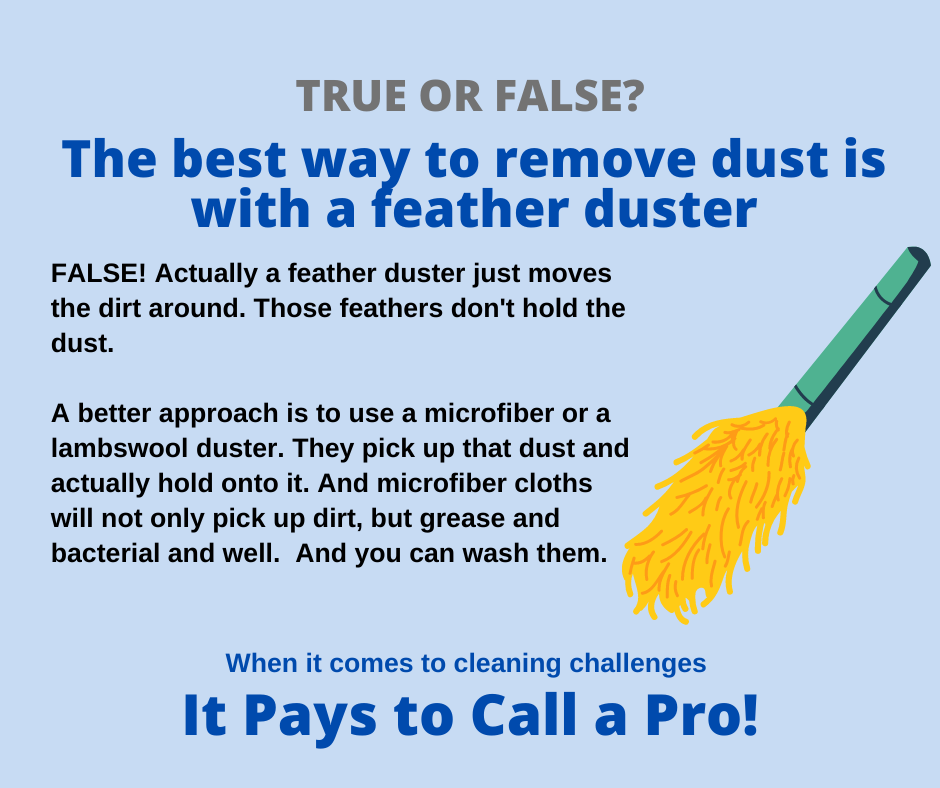
Keeping your house clean for an extended period involves a combination of daily routines and smart strategies. A tidy home looks appealing and contributes to a healthier living environment. Here are five practical ways to help your house stay cleaner for longer: 1. Establish a Cleaning Routine: Consistency is critical. Set up a cleaning schedule that aligns with your lifestyle. Daily tasks like making the bed, washing dishes, and wiping down countertops can help prevent clutter and dirt buildup. Weekly and monthly tasks, such as vacuuming, mopping, and dusting, should be integrated into your routine. Sticking to a schedule will prevent messes from accumulating and becoming overwhelming. 2. Declutter Regularly: The less stuff you have, the easier it is to keep your home clean. Go through your belongings periodically and declutter by donating or discarding items you no longer need. Implement a "one in, one out" rule to remove an old one when you acquire new possessions. Reducing clutter means less dust and fewer areas for dirt to hide. 3. Use Doormats and Shoe Racks: Place doormats inside and outside your entrances to trap dirt and debris from shoes before entering your home. Implement a no-shoes-indoors policy or provide a designated shoe area near the door. This will significantly reduce the amount of dirt and grime tracked through your house. 4. Invest in Quality Cleaning Tools: Quality cleaning tools can make a big difference. Invest in a good vacuum cleaner with a HEPA filter to remove dust and allergens effectively. Microfiber cloths and mop heads are excellent for trapping dirt and are easy to clean. Additionally, consider using eco-friendly cleaning products to maintain a healthier home environment. 5. Practice Preventative Measures: Preventing messes in the first place is one of the best ways to maintain a cleaner home. Business covers on furniture to protect against spills and stains. Use coasters for drinks to prevent water rings on tables. Encourage family members and guests to use trays or placemats when eating in common areas. By implementing these small preventative measures, you can reduce the likelihood of dealing with extensive cleaning tasks later. We all know a clean home requires dedication and organization. And when you need specialty cleaning, such as for carpet, upholstery, or other cleaning tasks, call your favorite cleaning company. After all, it pays to call a pro! How Deductibles Work
Homeownership entails numerous responsibilities, one of which includes navigating the world of insurance policies and the subtle nuances within them. Central to understanding your homeowners' insurance policy is a mastery of the different types of deductibles: Standard and percentage deductibles, each catering to other aspects of coverage. Standard deductibles Standard deductibles are fixed amounts, typically from $500 to $2,000 and more, representing what you'll pay out-of-pocket for most insurance claims. Regardless of the damage cost, this amount remains constant. However, specific claims are more peculiar and necessitate a different kind of deductible known as the percentage. Percentage deductibles Percentage deductibles primarily apply to claims related to wind, hail, and hurricanes, calculated as a percentage of your home's insured value, usually between 1-10%. For instance, for a home insured for $400,000 with a 1% deductible, any claim would require a $4,000 payment out-of-pocket before insurance covers the remaining cost. If you opt for the higher percentage, you can see how quickly this type of coverage can get expensive if something happens to your home. Disaster deductibles Beyond the regular realms, there are disaster deductibles. Standard policies typically do not cover natural disasters like earthquakes, mudslides, and sinkholes. The deductibles for these are also percentages of the insured value, with areas prone to specific disasters having higher minimum percentage deductibles, like most California homes having around 15%. In regions like Florida, sinkhole coverage is mandatory due to the prevalence of ground cover collapse. Flood insurance Flooding is another peril not covered under standard policies, necessitating additional coverage, especially for residents in high-risk flood areas. Flood insurance, available through the National Flood Insurance Program (NFIP) and private insurers, offers two types of deductibles: Building damage and content damage. Choosing the right deductible involves balancing short-term and long-term costs, assessing financial resilience, and understanding how deductibles impact premiums. Premiums, the periodic payments made to maintain coverage, are influenced by risk levels set by insurers based on factors like construction, age of the home, and regional claims history. It's crucial to note that filing claims may increase premiums, regardless of the deductible amount. The nature of your claims, frequency, and the cumulative cost to the insurer are crucial factors in determining future premium costs. All this being said, you do have help. Your favorite restoration company is your expert on disaster restoration and working with your insurance company to get you back to normal. After all, it pays to call a pro! A Sticky Issue: How to Remove Gum
Despite its refreshing taste and breath-freshening abilities, chewing gum often finds its way onto and into places it doesn’t belong, stubbornly sticking to surfaces and creating a mess. Fortunately, removing gum isn’t terribly tedious if you know the proper methods. Chewing gum is challenging to remove when warm, so hardening it is the first step in any gum removal process. This can be achieved by using ice cubes or freezing the gum-adhered item, making removing it easier without stretching or damaging the underlying surface. Fabric, carpet, and rugs For fabric, carpet, or rugs, apply an ice cube directly to the gum, rubbing it until it hardens. Placing the gum in the freezer is an efficient alternative if it is on a small, portable item like an item of clothing. Consider putting the ice cube in a plastic bag for rugs or carpet to avoid soaking the material with water. Once the gum hardens, gently scrape it off using a blunt knife, like a dinner or putty knife. Though it requires effort, being cautious can help avoid damage to the fibers. Hair Removing gum from hair necessitates a slightly different approach. Instead of hardening the gum, applying cooking oil or another natural lubricant (some use peanut butter) can ease the removal process. Gently work the substance into the gum and surrounding hair before carefully picking or combing out the gum. This method requires caution, especially when working on someone else, as it can be painful. Alternatively, one can use the freezing process to ‘crack’ the gum off, followed by an oil treatment to remove all remnants. Persistence Regardless of the method used, removing gum demands patience and careful handling. Sometimes, it may require combining techniques, especially for more stubborn pieces. However, diligent application of these methods usually results in successful gum removal, leaving the surface unharmed. By approaching this sticky situation with patience and the proper techniques, you can ensure that the unwelcome gum finds its way out without leaving a trace behind. But at times this type of sticky situation is just too much to handle on your own, such as when gum is embedded and hardened into your carpet or expensive area rug. When that happens, you have a resource you can rely on: Your favorite cleaning company. Do the right thing and let them handle this. After all, it pays to call a pro! How Adjusters Work
When a storm wreaks havoc on your property, assessing the damage and beginning the recovery process can be overwhelming. You may not know where to start. And you certainly wonder who will pay for it all, either your insurance company or you. You have insurance for your home, so you hope everything is covered. Much of that comes down to the adjuster and the details of your insurance policy. All things being equal, though, what plays out is often based on people. And the decisions they make. Understanding what an insurance adjuster is and how one operates will help you in the event of the unimaginable happening to your home, whether fire, flood, or other damage. You want a smooth transition from damage assessment all the way to repair and getting back to normal. What are ‘adjusters’? Property insurance adjusters, or claims adjusters, evaluate property damage to determine how much an insurance company should compensate the policyholder and even scarier … IF they should. They inspect the damaged property, review policy details, and determine the validity and worth of a claim. In the past, adjusters visited all sites. Now, they may do it remotely. But odds are a visit to your home for the inspection and evaluation is what you can expect. The process Once a claim is filed, the insurance adjuster will contact the policyholder to discuss the details of the damage. The adjuster visits the damaged property to assess the extent and cause of the damage. They will take photos, measurements, and notes. The adjuster should review the insurance policy to see what is covered, any exclusions, and the policy limits. Based on the policy details and the assessment, the adjuster will either approve or deny the claim. If approved, they will provide an estimate of the repair costs. Once an agreement is reached, the insurance company will pay the claim directly to the policyholder or the repair contractors. If you are paid, you are responsible for paying the contractors. Each state has unique laws regulating payment. In the process, be sure to document everything. Take as many pictures as you fee you need, then take more. Use video. Protect yourself. The more information you have documented, especially photos and videos, will help your case if you have any issues with coverage. You have an ace in the hole, as well. That would be your favorite disaster restoration firm. Call them if you ever have damage to your home. They will walk you through the process and be there for you, and do the cleanup and repair work, and most likely bill your insurance company. After all, it pays to call a pro! 7 Ways to Triumph Over Clutter
Decluttering and organizing one's home can be overwhelming, especially when you are overtaken by too many things collected over the years. Stuff piles up! When that happens, and you can’t take it any longer, it’s time to act. Here are a few ways to triumph over clutter. Set clear goals Before you begin, have a clear goal. Why should you get rid of “stuff”? Are you looking to improve appearances or make room for more “stuff”? Having an objective in mind is going to help with this. Plan and prioritize Keep this manageable. Don’t try to do the entire house in one session. Break it down into manageable tasks. One room at a time. Prioritize based on which areas are most in need or which will provide the most satisfaction once organized. The famous four-pile method You have heard it before. Put things in designated piles. But this is the modern era, so use boxes instead. Have four boxes labeled: Keep, Donate, Trash, and Recycle. You know how you value items so putting them in appropriate boxes should be easy. This will help you stay focused. Organize systematically Once you’ve decluttered, keep the momentum going. Use containers to keep it all in the proper place. Use labels. Zone your spaces, maximizing the use of closets, cupboards, and drawers. Everyone should know where stuff is when they need it. Documents Documents and papers are “stuff” as well. Most opt for digitizing these unless there is a legal reason to have a paper copy. Don’t throw away papers unless you are sure you won’t need them. Photographs, scanned copies into your computer, and all kept in the cloud… use digital technology to help save space and keep documents organized. Melbourne Victoria Australia – Questions to Ask Before Hiring a Damage Restoration Company9/30/2023
How Dehumidifiers Work
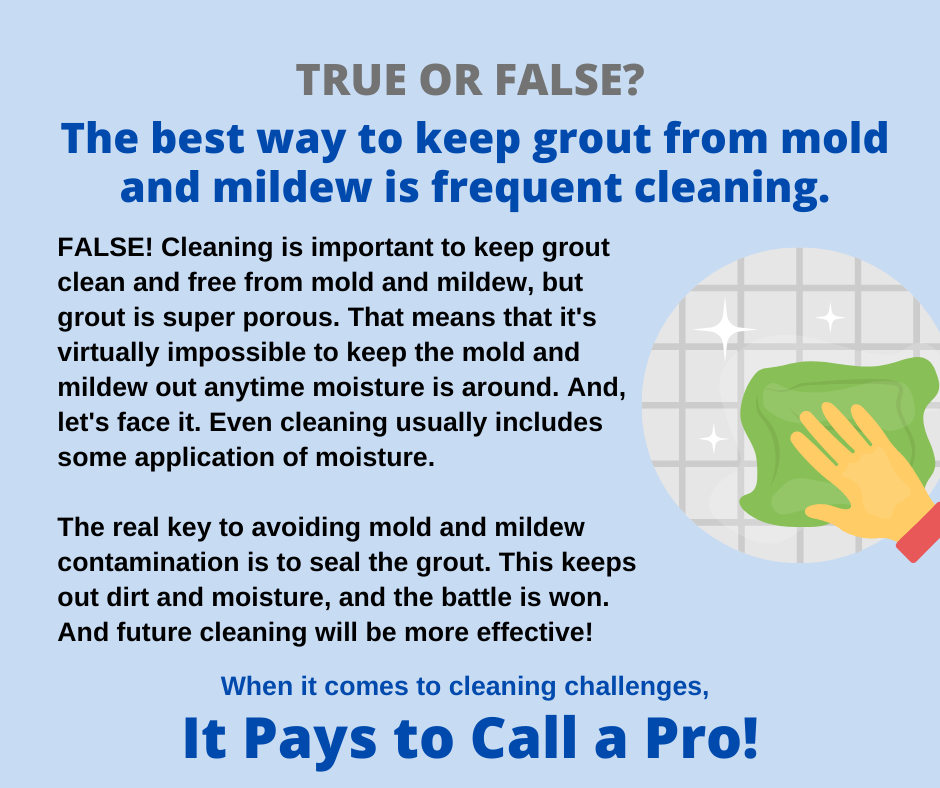
When storms strike, and heavy rains fall, humidity increases, and the ground can become swollen with water. And that means the humidity in your home can go up, especially in the basement. Add a lack of light, and you have a perfect scenario for mold growth. Having a water-tight home to fight this would be best, but that’s virtually impossible. But there are ways to waterproof your home — to some degree — but you can always work to reduce the humidity. That’s where dehumidifiers come into play. They are small appliances (the pros use large commercial units) designed to reduce humidity in the air by removing excess moisture. They are invaluable units to have on hand. Using them improves comfort and prevents serious issues such as mold growth, musty odors, and possible damage to surfaces caused by increased humidity. How they work The first is the air intake. Dehumidifiers draw in air with a fan and pass that moisture-laden air through a filter to remove dust and particulates. Then once the air is inside the unit, it meets cooling coils that are colder than the dew point temperature of the ambient air. When this happens, the moisture in the air condenses into water droplets on the waves. From there, these droplets end up in a drip pan or tank at the bottom of the dehumidifier. Some of these are small, others larger. Some fill up and must be drained regularly, while others have a hose that allows the water to drain out, such as into a sump pump basin. More expensive options include a pump draining into a floor drain, sink, or other receptacle. As all this happens, heat is lost in the condensation process while the air passes through the cooling coils, and the now dry and cooler air is put back into the room. The cycle continues, and most units have a monitor to tell you the humidity level, but if not, you can use a simple gauge to see the progress. And some can be set to a specific humidity control setting. There are different types of dehumidifiers, with the refrigerant type being the most common. But even with all your moisture control efforts, the unthinkable sometimes happens. Water intrudes, musty odors occur, and mold can grow. Be sure to contact your favorite restoration company with any questions or concerns. They are there for you. After all, it pays to call a pro! Transforming Your Car
One of the costliest purchases you will ever make includes your vehicle. You agonize over deciding what type of make or model to purchase. And when that day comes, you are pleased with your choice. A shiny new (or gently used) car is something you value. But over time, your car’s appearance can take a beating, inside and out. While running your vehicle through a car wash is a simple way to keep the exterior clean, the interior is another story. Many consumers turn to the pros for detailing work, and it is tough to match the quality a professional detailing company can provide. But you can achieve impressive results if you do it yourself, using a few basic tools and products. To get started (and we will discuss only the interior here) gather the necessary tools and cleaners. This may include glass cleaner, cleaning solutions, cloth towels, paper towels, a quality vacuum with attachments, and other items you may find you need to do the cleaning. Start with decluttering. Go through your car and remove and discard anything you don’t need. You may find empty coffee cups, and a few wrinkled French fries, it’s amazing what can build up over time in a vehicle. Give the entire interior a thorough vacuuming, and spend plenty of time in the nooks and crannies. Get into the crevices of all the upholstery. Then start wiping everything down, using your cleaning solution and towels (cloth or paper). Find a starting point and start working, cleaning all surfaces except the glass. You will do that later. Wash surfaces, dry them, and inspect them. Redo those areas if not to your satisfaction. Use cotton swabs for the tiny areas you can’t reach with a cloth, such as an air vent. Allow your cleaning solution time to dwell on hardened soils, which are usually food-based. Do the interior glass last. Using your glass cleaner, first clean each window, and then re-clean them. The first cleaning removes the heavy soil and residue buildup and the second polishes it all so you don’t have streaks. You need good lighting to do this, so be sure to set that up in advance. Using a soft, lint-free cloth to go over the glass after cleaning often helps remove final smudges. All this being said, your favorite cleaning company would be happy to handle all of this for you, with professional results. Give them a call for a quote today. After all, it pays to call a pro! |
Jumbuck Cleaning & Restoration Melbourne Victoria Australia
Archives
May 2024
Cleaning OutPost
|

 RSS Feed